Please review all instructions before beginning. The image is 2.4 GB and takes approximately 18 min to download on a high speed connection. We recommend downloading this image before arrival.
This image contains the following packages:
- ASPECT
- MELTS
- Visco2D
- GMT
- Paraview
Rayleigh Nusselt Number Animations 2015_animations_lm.pptx (187 MB, uploaded by Lorraine Hwang 2 years 8 months ago) (courtesy of Laurent Montesi)
Prerequisties for the CIDER 2015 Aspect Tutorial
Virtualbox
Please download and install virtualbox *BEFORE* the tutorial. You can download it from VirtualBox downloads.
Use these directions to install VirtualBox.
It is recommended that your computer have at least 3GB and preferably 4GB of memory as well as 10GB of free harddrive space to use the virtual machine.
Tutorial Image
This VirtualBox Image is 2.4GB. Download it onto the laptop you are going to use for the tutorial.
Importing the CIDER tutorial image
- Run VirtualBox.
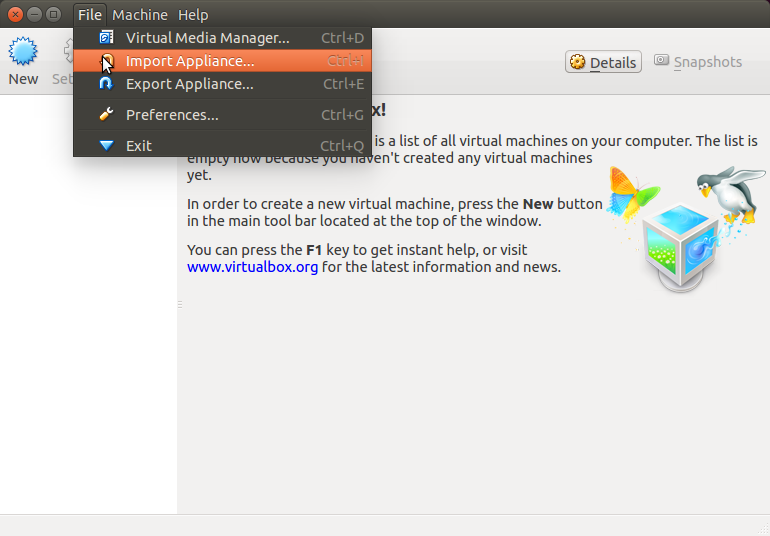
- Select from the menu “Import appliance”:

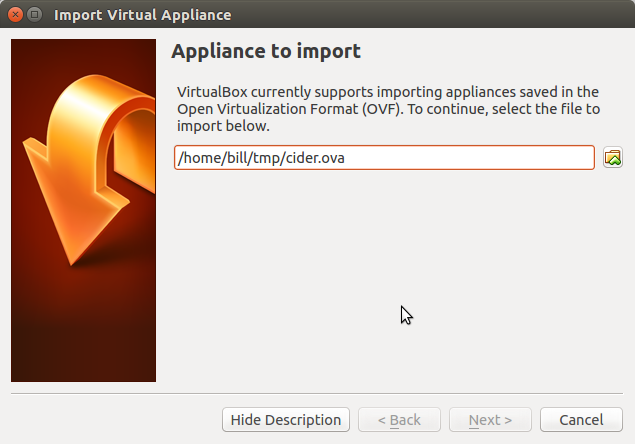
- Select the downloaded cider.ova image:

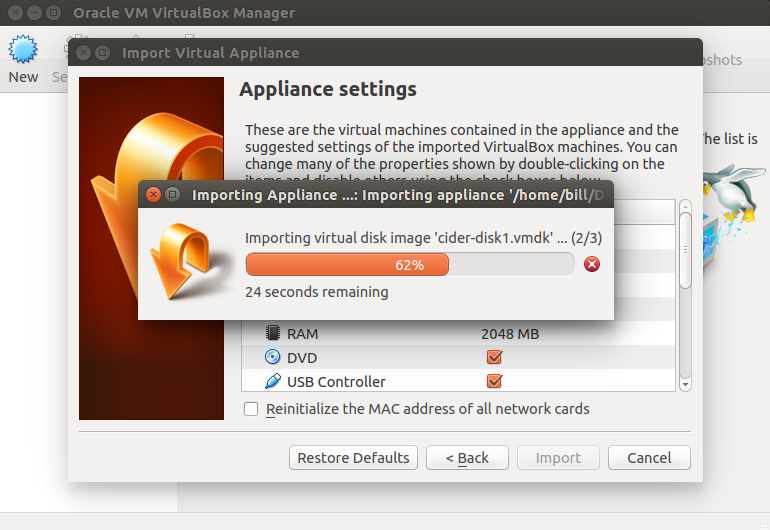
- Select Next and Import:

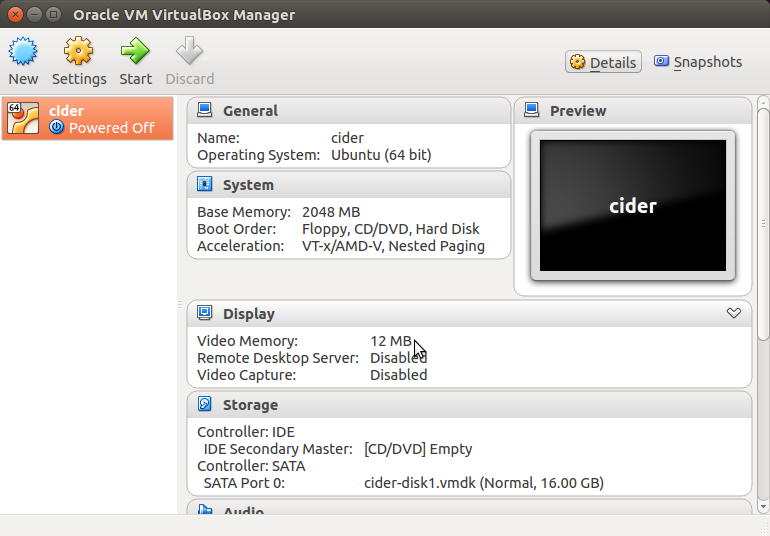
- Click on start (the green arrow) to launch the image:

Using the Image
The image should autologin, but if needed the username is cig and the password is cig. The image does not allow any connections from the network. Sudo apt-get install to install ubuntu packages.
Shared Folders
Shared folders allow easy movement of files between your operating system (host) and the CIDER virtual machine (guest). These instructions will help you set up a shared folder.
First, it is important to have a folder on your host already created, as VirtualBox’s interface does not support folder creation.
Open the VirtualBox application, highlight the CIDER virtual machine, and open its settings (in the top-bar Machine → Settings or by clicking the gear icon). In the list of tabs, select Shared Folders. Right-click Machine Folders and select Add Shared Folder.
In the pop-up, click on the arrow next to Folder Path and select Other…. This should pop up a file navigator. Navigate to and select your folder on your host machine. Be sure to also check the Auto-Mount option, and hit OK.
Now it’s time to start the CIDER virtual machine. Let it boot up, then open a terminal (Ctrl+Alt+T) and type in:
sudo apt-get update && sudo apt-get install dkms
and wait for it to finish.
Next, go into VirtualBox’s topbar and select Devices → Insert Guest Additions CD Image…. A window may pop up asking to run the CD. Close or Cancel that window, and, back in the terminal, type:
cd /media/cig/VBOXADDITIONS_4.3.28_100309
and then
sudo sh ./VboxLinuxAdditions.run
Wait for the command to complete, then poweroff and restart the virtual machine. You should now have a working connection between your computer and the CIDER virtual machine. The guest folder will be at /media/sf_<your host folder name>.
Optional: If you want the guest shared folder to appear on, for example, the desktop, open a terminal and run (replacing the brackets with your folder name):
ln -s /media/sf_<your host folder name> ~/Desktop
Troubleshooting
VirtualBox VT-x/AMD-V Error
If, when starting the CIDER VM, you see a pop-up similar to:
“ VirtualBox – Error: VT-x/AMD-V hardware acceleration is not available on your system. Certain guests… require this feature and will fail to boot without it.
Close VM Copy Continue”
Most likely, this means that you do not have hardware support for virtual machinges enabled in your BIOS (firmware on the motherboard). To enable it, you will need to edit your BIOS settings.
Starting your BIOS interface requires holding down a button while your computer starts up (i.e. if your computer is already on, you will have to restart it). Usually, while your computer is starting, there will be a prompt to press a button to enter the BIOS, though if your computer boots quickly, it may be hard to read. Some common buttons to hold down are: Esc, Del, F10, F12, and Enter. If you have trouble accessing the BIOS, try looking on your manufacturer’s website for instructions.
Once you are in the BIOS settings, you should look for the virtualization setting, sometimes called Virtualization, Intel Virtual Technology, or something similar. Try looking under a Security or Advanced Options tab. If you are able to find the setting, make sure it is set to enabled. Then save & exit, and restart your computer. You should now be able to run the virtual machine with VirtualBox.

