
2018 CIDER ASPECT Tutorial
ASPECT was part of the tutorial sessions at the 2018 CIDER workshop. Please see instructions below on how to download and install the necessary software to follow this tutorial.
- Tutorial slides: rene_gassmoeller_tutorial_cider2018.pdf (5 MB, uploaded by Lorraine Hwang 2 years 8 months ago)
- Video recording: https://youtu.be/ELoFgxBrDyU
Prerequisites for CIDER 2018 Tutorial
VirtualBox
You can download and install VirtualBox *before* the tutorial or use the installation files that are on the USB drives that will be distributed at the beginning of the tutorial. You can download the software from VirtualBox downloads.
Use these directions to install VirtualBox.
If your host machine is any linux system, both virtualbox and virtualbox-dkms packages must be installed. Also check to make sure you have exFAT filesystem drivers. Windows and Mac systems should have it by default. On Ubuntu, the packages required are exfat-utils and exfat-fuse.
We recommended that your computer has at least 20 to 30 GB of free disk space and preferably 8 GB of RAM. If your computer has less RAM check the Troubleshooting section for how to reduce the memory allocation of the virtual machine.
Tutorial Image
During the first tutorial session, you will receive a 16 GB USB drive with an OVA file called “CIDER2018.ova” and the installation files for VirtualBox. This image contains the software for all CIDER tutorials. Copy it onto the laptop you are going to use for the tutorial.
Alternatively, you can also download the virtual machine from here: CIDER2018 Virtual Machine. Note that this file is over 5GB in size and will take a long time to download (it is not recommended to do this during the tutorial as the Wifi will be unable to provide sufficient speed for multiple simultaneous downloads).
Importing the CIDER2018 tutorial virtual machine
- Run VirtualBox.
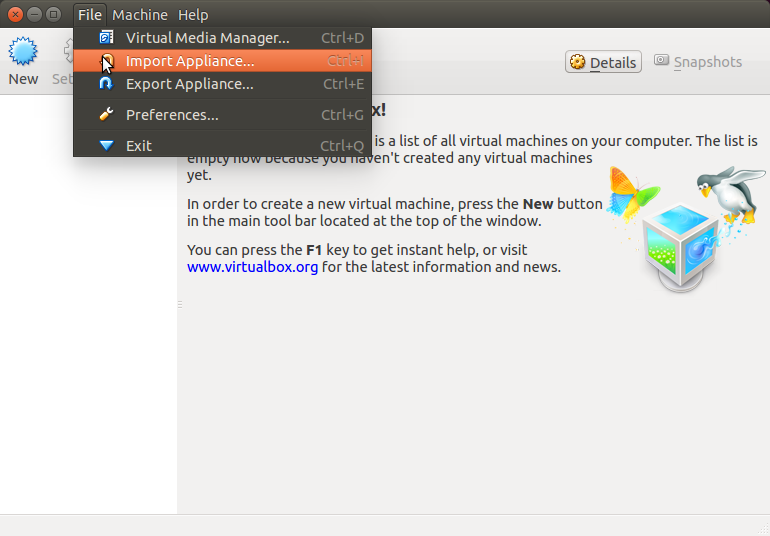
- Select from the menu “Import appliance”:
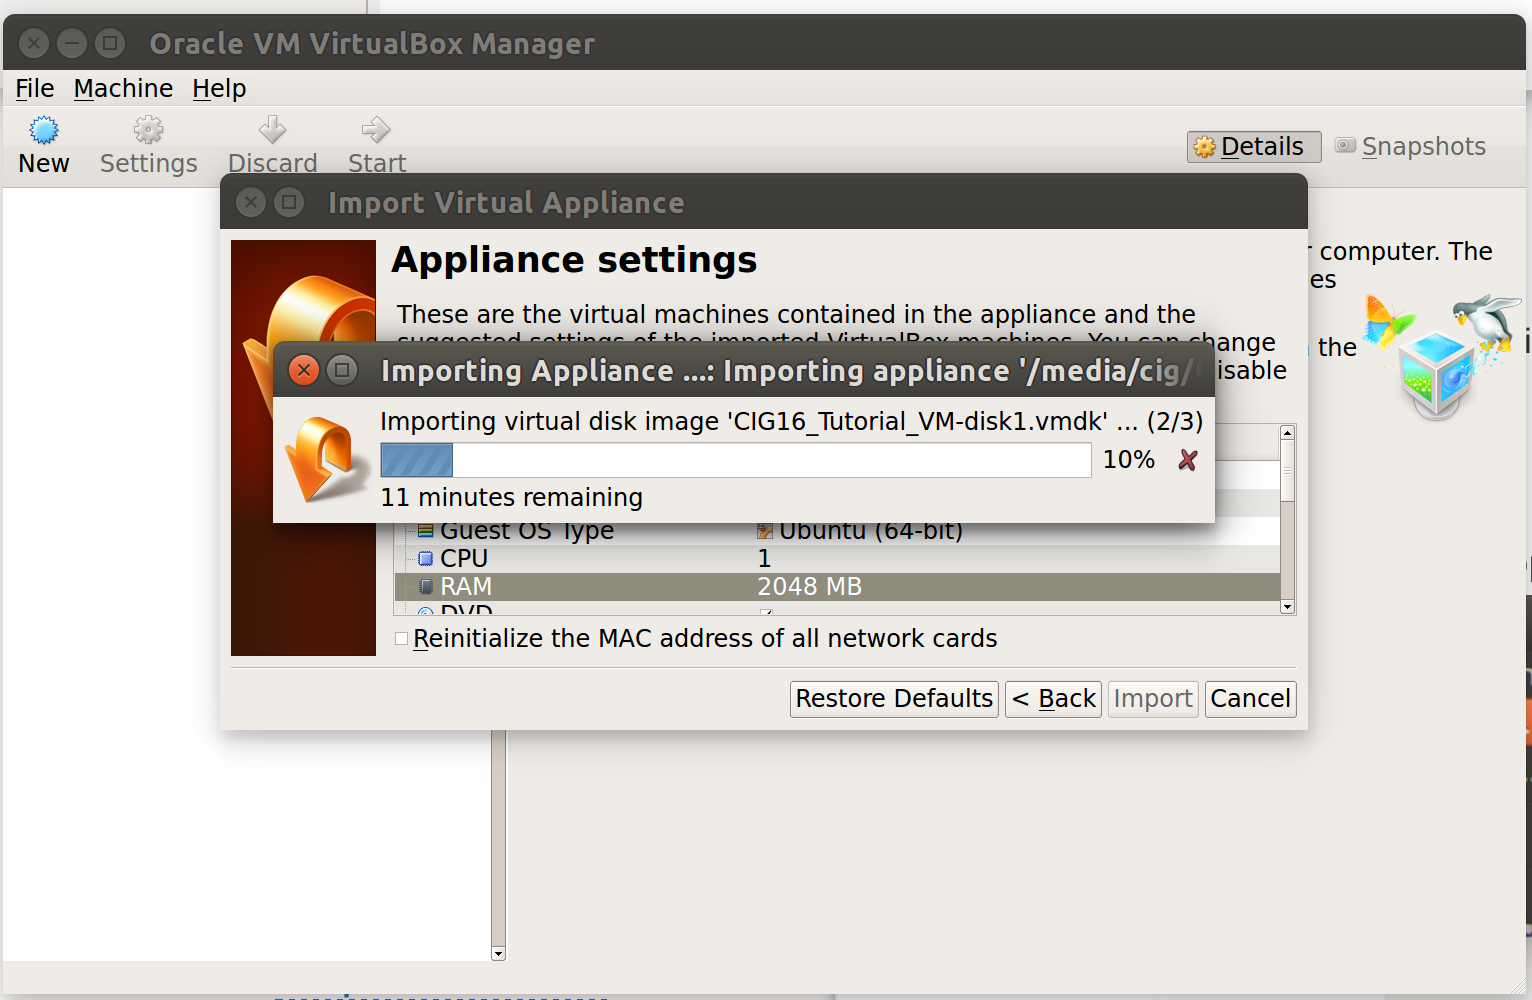
- Select the copied/downloaded CIDER2018.ova:

- Select Next and Import:
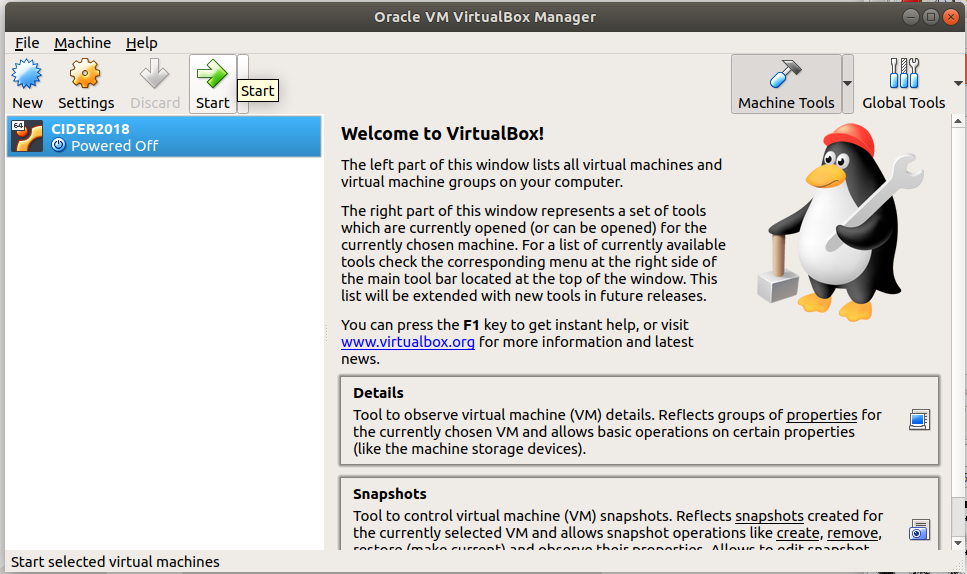
- Click on start (the green arrow) to launch the image:
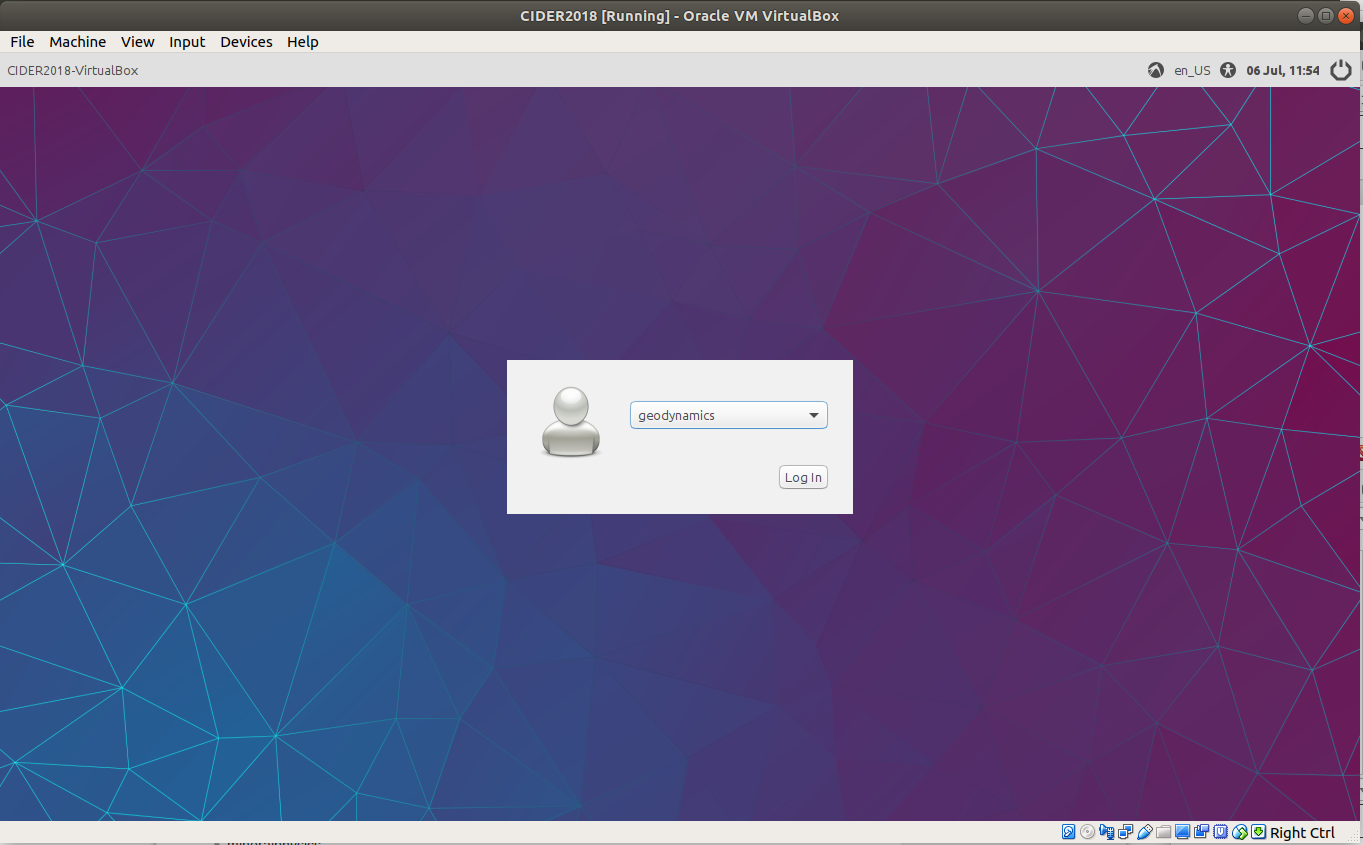
- You know it worked if you see the following login screen:
Using the virtual machine
We use VirtualBox to run a separate (‘guest’) operating system inside your normal (or ‘host’) operating system. For this tutorial we use a Lubuntu 16.04 linux inside the virtual machine, because it provides a reasonably intuitive interface, and importantly is relatively lightweight, keeping the size small, and the machine relatively fast.
The virtual machine contains the following users for the individual tutorials:
- geodynamics
- mineralphysics
- seismology
As a first step select any of the above users and login to the system. Note that all of the users listed above do not require a password. Lubuntu separates the common ‘Start’ menu in the bottom left corner of the screen from the ‘Shutdown/Reboot/Switch user’ menu in the bottom right corner of the screen, but otherwise the layout of file explorer and menus should be vaguely familiar to all users of ‘Windows’/‘MacOS’/‘generic Linux’ users.
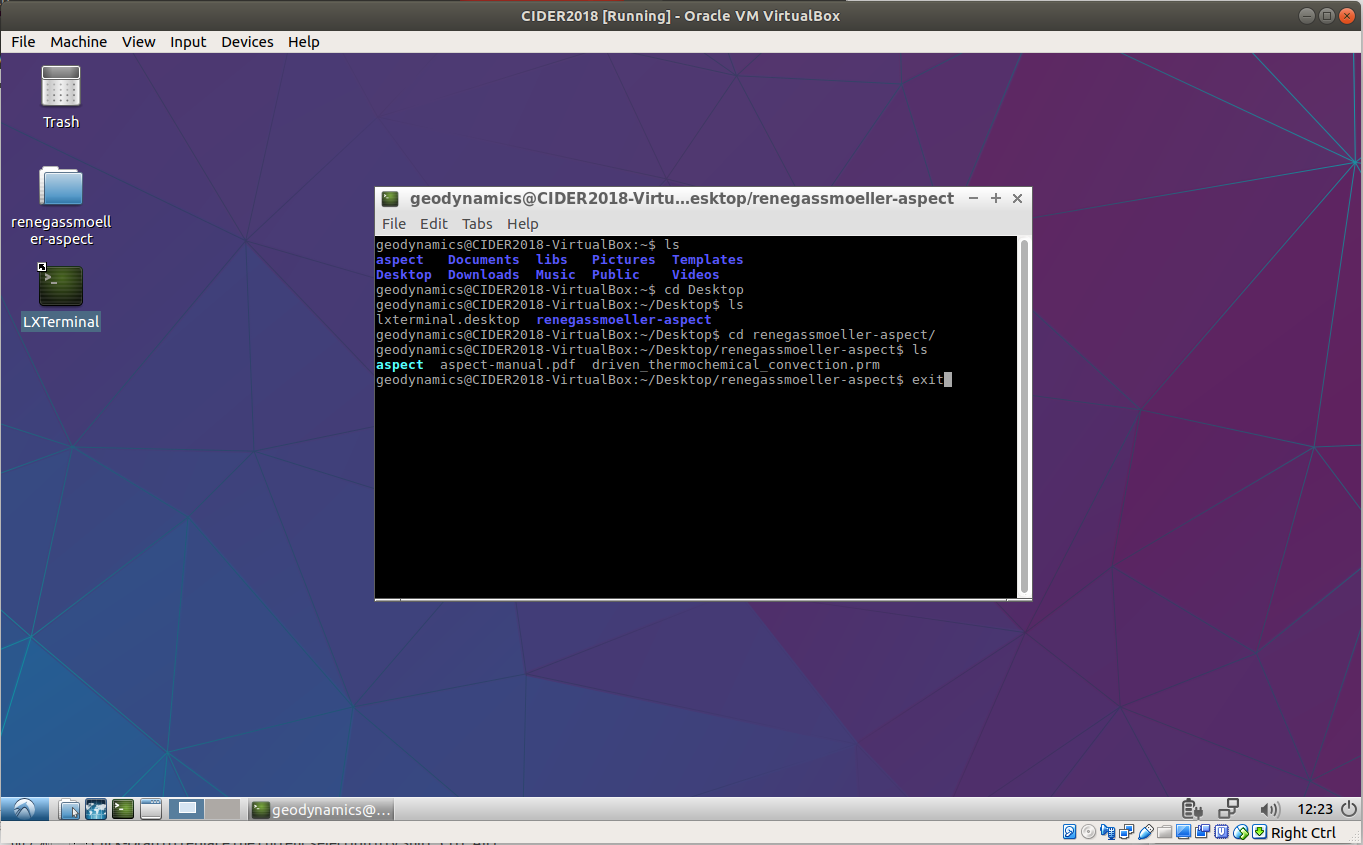
The majority of the work in the tutorials will happen in the linux terminal, and if you are not used to working in the terminal, now is a good time to familiarize yourself with some basic commands:
- You can open a new terminal by pressing
ctrl+alt+t, or double-clicking on theLXTerminalshortcut on the desktop - You can exit the terminal by typing
exitand pressing enter - You can change directories in the terminal using the command cd followed by the directory name (or
cd ..to move up one directory). Just typingcdand pressing enter brings you back to your home directory. Most tutorials will happen in the directory ‘Desktop’ and some subdirectory of it. - You can always press
Tabonce or twice and the terminal will try to auto-complete the command you were typing (very useful for long or unknown filenames!) - You can list all files in the current directory using the command
ls - You can start programs by typing their name and pressing enter (try
leafpadfor a simple text editor) - While a program that you started from the terminal is running, you can type more commands in the terminal, but they will only be executed when you close the program.
- You can always open additional terminals to work in other directories while keeping the old one open.
The virtual machine has all required software installed, but if you are familiar with linux and you want to install additional packages (e.g. your favorite text editor), do it as cideradmin, using the password cideradmin:
su cideradmin
sudo apt-get install <package name> to install ubuntu packages.
Now simply start the CIDER2018 virtual machine and log into the user required for your current tutorial.
Setting up a shared folder between host and guest operating system
Some of the tutorials need to transfer data between the virtual machine and your host operating system. In order to allow this you will need to create a new folder on your laptop. Give it a name (e.g. ‘share’) and open the settings of the CIDER2018 virtual machine. Go to the ‘Shared Folders tab’ and add the newly created folder as a shared folder by clicking on the green plus and selecting your newly created folder (do *not* select the read-only option in the dialog that opens).
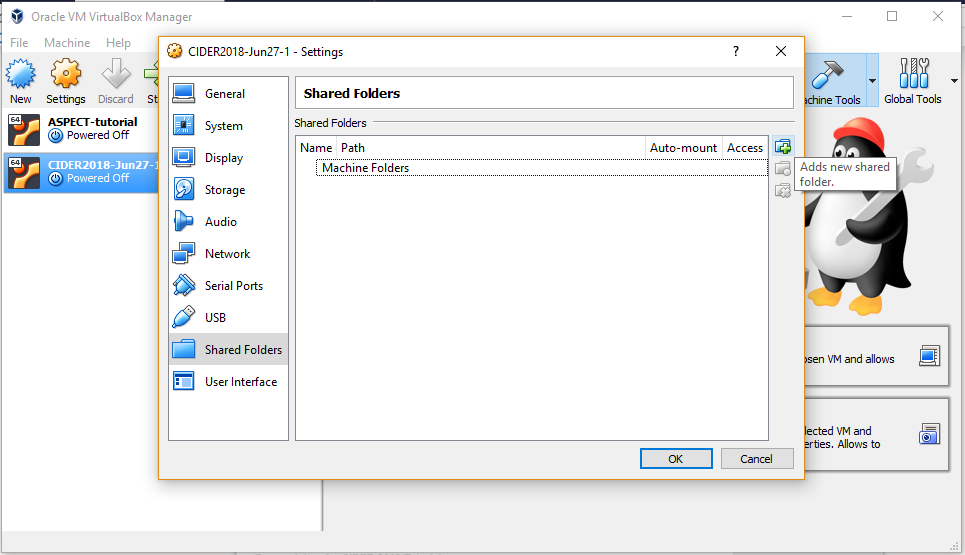
Take note of the folder name that VirtualBox assigns to this shared folder (most likely ‘share’). If everything worked your settings tab should look like this:

Now click ‘Ok’ to save the settings and start your virtual machine. To mount the shared folder inside the virtual machine as any user open a terminal as explained above and use the following commands:
mkdir shared_folder
(only necessary a single time per user account)
su cideradmin
(when asked for the password type cideradmin)
sudo mount -t vboxsf -o rw share shared_folder/
(when asked for the password type cideradmin )
exit
Now you should have a new directory in your home directory called shared_folder and every file you copy into this folder will appear on your host operating system in the folder share that you created at the beginning of this subsection. You will need to repeat this process (except for the first step) every time you restart the virtual machine, thus test it now once, but only repeat it when necessary for your tutorial.
Troubleshooting
- On some laptops the hardware feature that allows virtual machines to work efficiently (Intel VT-x) is disabled. If while importing or starting the VM you get error messages like ‘This host supports Intel VT-x, but Intel VT-x is disabled’ then reboot your computer, enter the BIOS settings, and make sure the ‘VT-x’ setting is set to ‘Enabled’. As the setting can be called slightly differently for different laptops, please let us know if you need help with this problem.
- The virtual machine by default allocates 2 CPU cores and 4 GB of RAM. If your laptop has less than 8 GB of RAM or less than 4 CPU cores, you might want to reduce these numbers (e.g. to 1 CPU core and 2 GB of RAM). You can do so by right-clicking on the CIDER2018 virtual machine icon in VirtualBox, and then go to the
Systemstab. The amount of RAM can be set in the Motherboard panel, and the number of CPU cores can be set in theprocessorpanel. You will have to shutdown the virtual machine in order to change these settings. - On some laptops the shared folder will not allow writing into the shared folder inside of the virtual machine. This can be circumvented by becoming the superuser inside of the virtual machine. To move an example file called ‘test’ into a shared folder named ‘shared_folder’ you will have to use the following commands:
-
su cideradmin(when asked for the password type cideradmin) -
sudo mv test shared_folder/(when asked for the password type cideradmin) -
exit
-